As I had mentioned in my previous post, I had to fix one of the sleeves on Tiny Wolf’s Flax Light sweater. Apparently, no pattern is so easy that I wouldn’t be able to mess it up somehow. This is the first time I’ve fixed a sleeve like this, so I wanted to write myself a little “knitting how to” for future reference and then post it here as well. Maybe this could help some of you or one of you has some input into how to do it better/differently/with less fuss next time?
After I had finished the first sleeve on Flax Light and was about to start the second one I realized I had completely messed it up. I had picked up only 5 of the 10 stitches needed and the did all of the decrease rows around those. This made the sleeve to narrow and kind of crooked.
I really wanted to finish the sweater for Tiny Wolf, though. So, I had to fix it somehow.
My first step was to find the error and look for a row before I made the error. That was easy since my problems began when I picked up too few stitches. So, I took some leftover yarn in a contrasting color and a needle and made myself a lifeline. I ended up using a row after I had picked up the stitches because it was easier to see the stitches under the arm but I knew that meant I had to tink back a bit later.
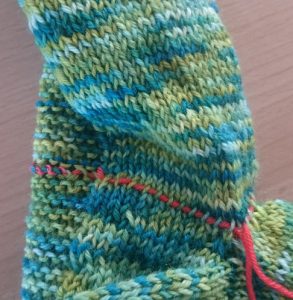
The finished lifeline
I pulled my lifeline to be through the stitches, always putting the needle through the stitches the same way. On knit stitches back to front through the right leg and on purl stitches through the bump top to bottom.
Here you can see where I cut the yarn too close to the lifeline
Then, I cut the yarn. Unfortunately, I cut through the yarn directly between the two tails of my lifeline. That wasn’t too clever. If I hadn’t needed to tink back a bit more, the tail of my working yarn would have been too short to join more yarn to it. So, if you try this: be smarter than me and cut a row or two after the life line. You could also cut the yarn at the end of your knitted piece (here, that’s the cuff) and unravel from there. Or unpick the bind off and rip back to the lifeline. But I was honestly too lazy to do that and thought this would be quicker. I don’t know if it actually was, though.
The arrows show in which direction to pull out the yarn
Next, I had to pick the yarn I just cut out of the stitches. That works the same as with the stitches held on contrasting yarn for an afterthought heel. This is always a little fiddly, especially when your yarn isn’t very smooth and slippery. Following this is the easy part: take the yarn tail and rip back to your lifeline. No need to be overly careful, the live stitches can’t get lost. That’s what the life line is for. I liked that part the most.
All that is left afterward is to put the live stitches back onto your knitting needles and start knitting again - this time hopefully without making mistakes. On my third attempt - I had knit the second sleeve first - I did actually manage that feat. Yay me.
This is what it looks like when you’re finally done and all the live stitches are back on the needles
So, how do you detach an error-riddled sleeve and redo it? Please, let me know in the comments below!
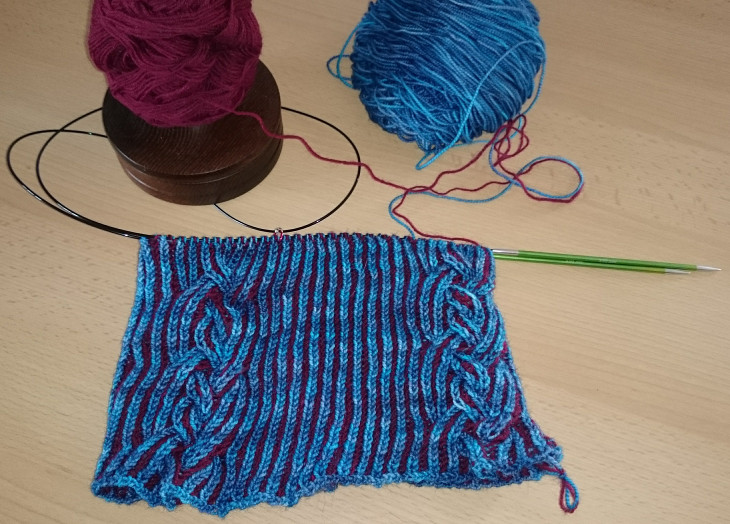
Next time
I’ll give you an update on my current projects and show you my current main project. Here is a sneak peek.
SPOILER ALERT: Yarnia - The Grand Quest Blanket MKAL clue 1 sneak peek