
I think we’ve all been there. You’ve knit a beautiful pair of socks, a hat or sweater only to find out that the cast on ended up too tight. Even though you had swatched and everything seemed to match the needed gauge.
Some projects need a cast on with more stretch to it than your usual cast on might offer. Some yarns have less give which in turn means your cast on will have less give. With some needles, you just knit tighter than with others.
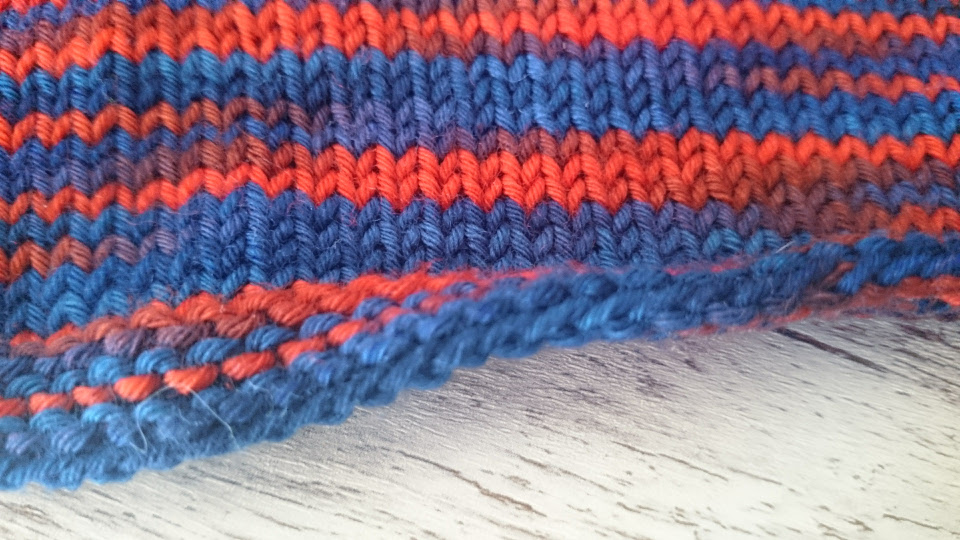
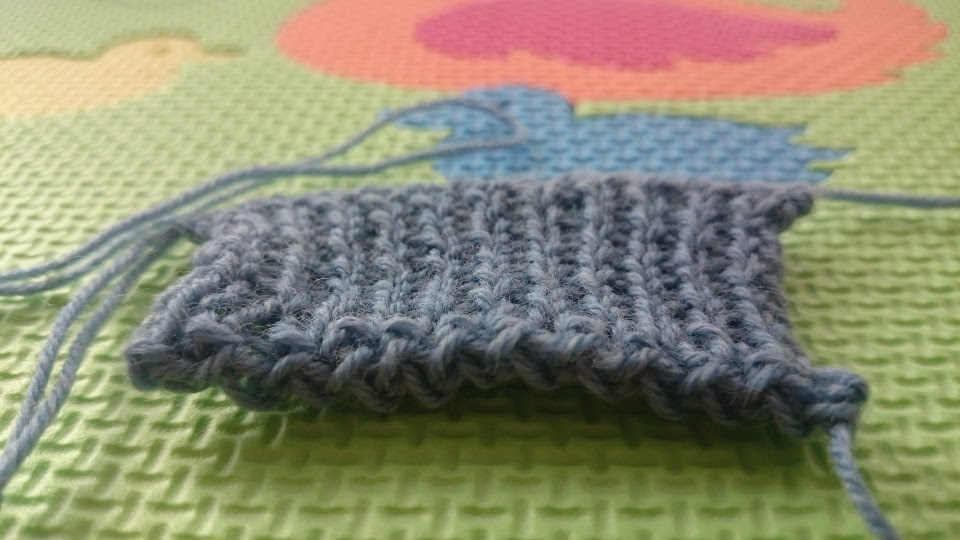
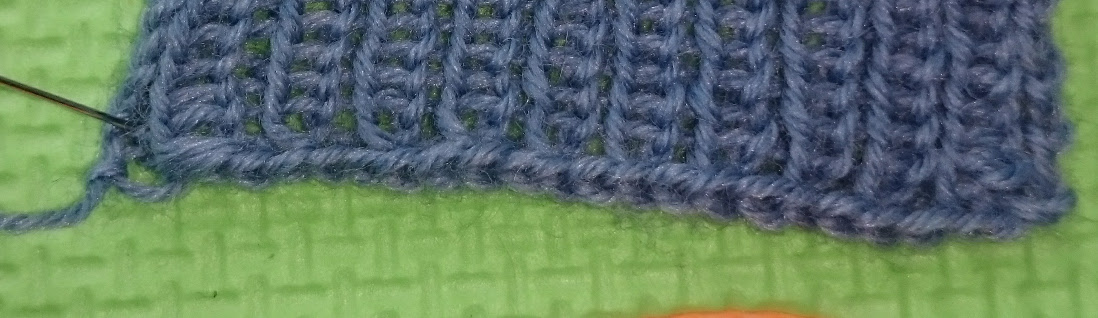
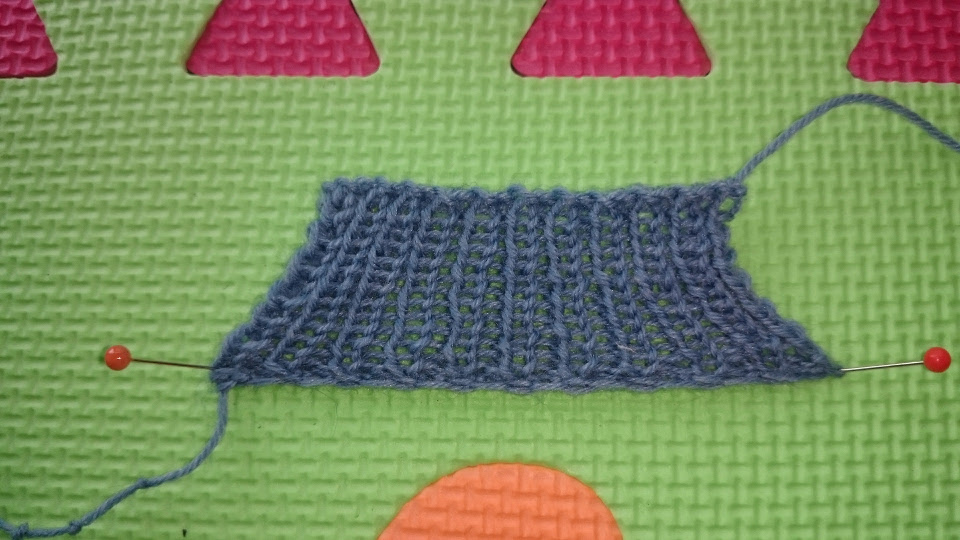
So here is a list of stretchy cast ons you can use to avoid those problems. Some of these I’ve found in the book “Cast On, Bind Off” and some just found on the internet by googling. I’ve tried them all out on small swatches so I can show them to you. I’ve knit all of the swatches with the same fingering weight yarn and over 21 or 22 stitches of either K1, P1 or K2, P2 ribbing in order to be comparable.
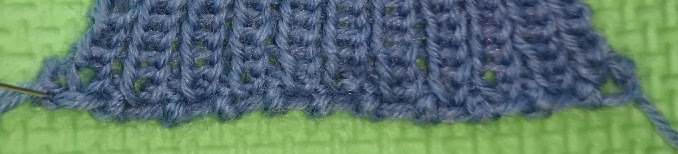
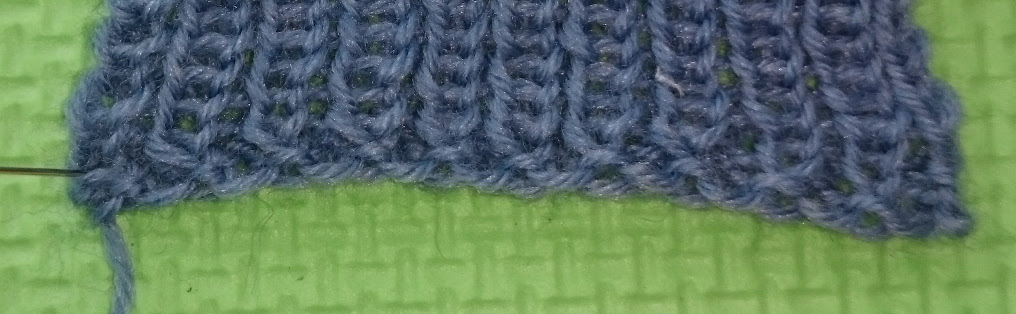
1 - Alternating Long Tail Cast On
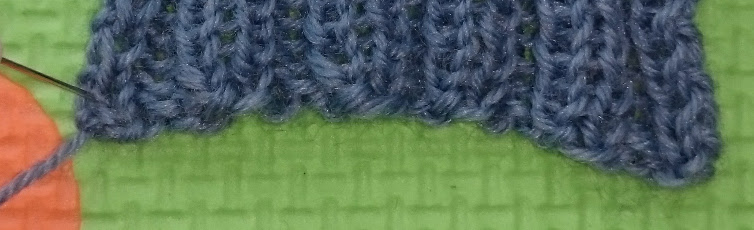
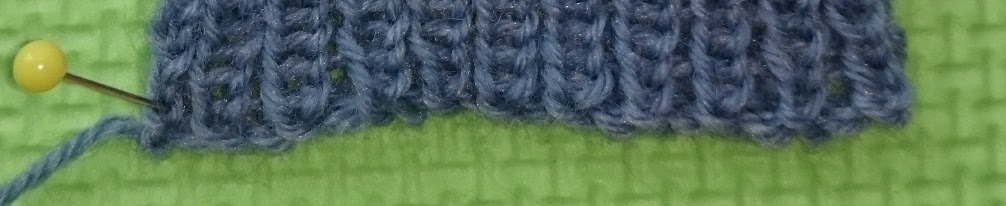
Close up of the Alternating Long Tail Cast On.
You can use the Alternating Long Tail Cast On on any ribbing. Half of it is exactly the same as the standard Long Tail Cast On. With that technique, you create the knit stitches. You can however also add stitches in a way that makes them look like purl stitches.
As with the standard Long Tail Cast On, don’t forget the first you’re knitting will be a wrong side row. So you will purl all of the knit stitches you’ve cast on and will knit all of the purl stitches. Just knit them as they appear.
It seems slightly more flexible to me than the standard Long Tail Cast On and it gives you a clean and simple edge to any ribbing.
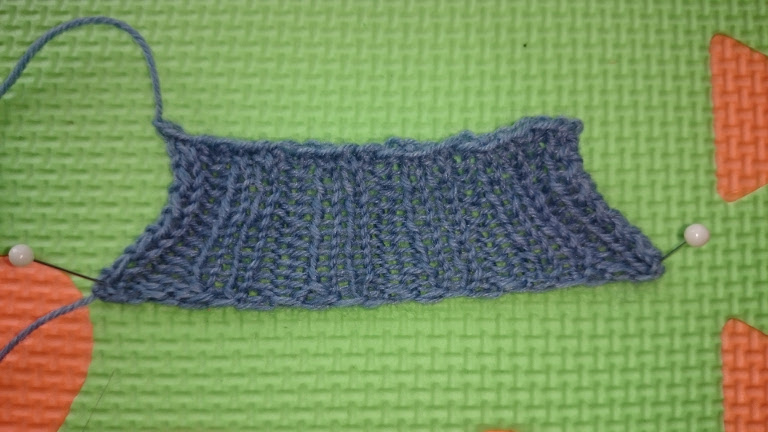
Stretched Alternating Long Tail Cast On
2 - Double Start Cast On
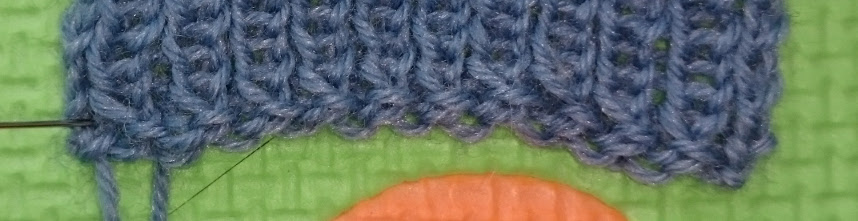
Close up of the Double Start Cast On - please excuse the cat hair that managed to steal into the picture
The Double Start Cast On looks really interesting and pretty. It is a good cast on for K1, P1 and K2, P2 ribbing but looks nice on stockinette as well. This cast on creates a nice decorative edge. And it offers a bit more stretch than the Alternating Long Tail Cast On. It would look really good on socks, hats, mittens and the like.
This cast on should also be easy to learn, if you already know how to do the Long Tail Cast On. I find it even easier than the Alternating Long Tail Cast On. All you are doing is changing the way you wrap the yarn over your thumb for every second stitch you are casting on. I will definitely be using this one more often in the future.
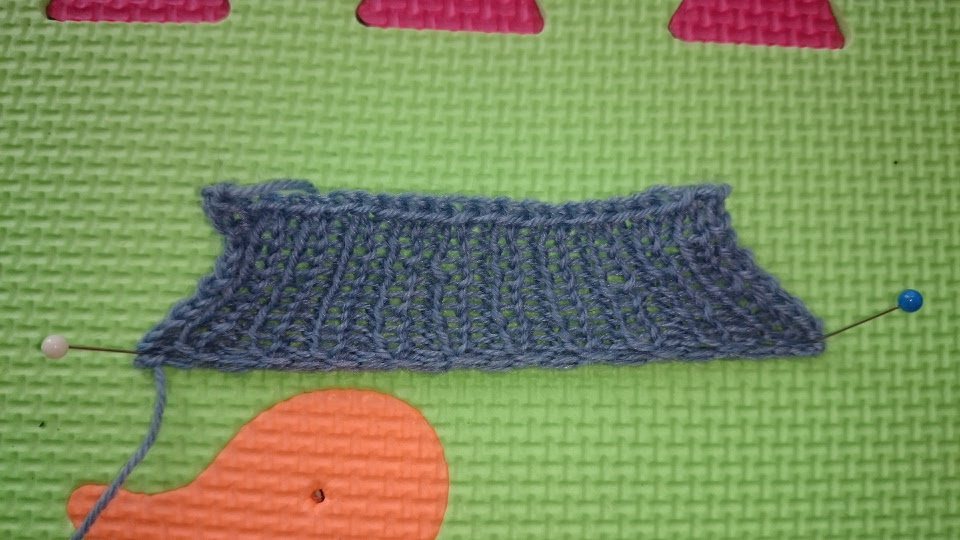
Stretched Double Start Cast On
3 - Channel Island Cast On
Close up of the Channel Island Cast On
The Channel Island Cast On (or Knotted Cast On) is another variation of the Long Tail Cast On. Since you are holding the tail doubled it is a strong, long-lasting cast on. It creates an interesting knotted edge - that’s where it’s alternative name come from.
I find that it flares just a little on K1, P1 ribbing. And it has less stretch than the Double Start Cast On provides. You cast on an even number of stitches with this method. The slip knot should be knit as two stitches usually. It is possible to knit it as one for an odd number of stitches but that may create extra bulk. You could also decrease one stitch after the first row to avoid this.
I thought this cast on was a bit fiddly to do first and it took me a bit longer to get into a nice rhythm with it. Also, don’t forget that tail needs to be bit longer since you will hold it doubled and will wrap it twice around the thumb for each stitch.
Stretched Channel Island Cast On
4 - Jenny’s Stretchy Slip Knot Cast On
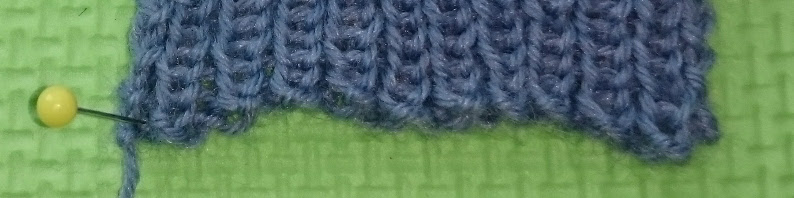
Close up of Jenny’s Stretchy Slip Knot Cast On
Now finally a cast on that does not remind me of the Long Tail Cast On! This method basically consists of a lot of slip knots. It looks really pretty on any kind of ribbing (I’ve tried K1, P1) and is very stretchy. And since you are only using the working end of your yarn and not the tail, you can even cast on stitches within a row using this method. That makes it nice for buttonholes if you want them to have a bit more give than normally.
Again, I didn’t find this quite as easy to work though. Making a slip knot is not hard but you to make sure that the stitches you are casting on are close to each other and even in distance to one another. That may take a bit of practice. But it is well worth it in my opinion.
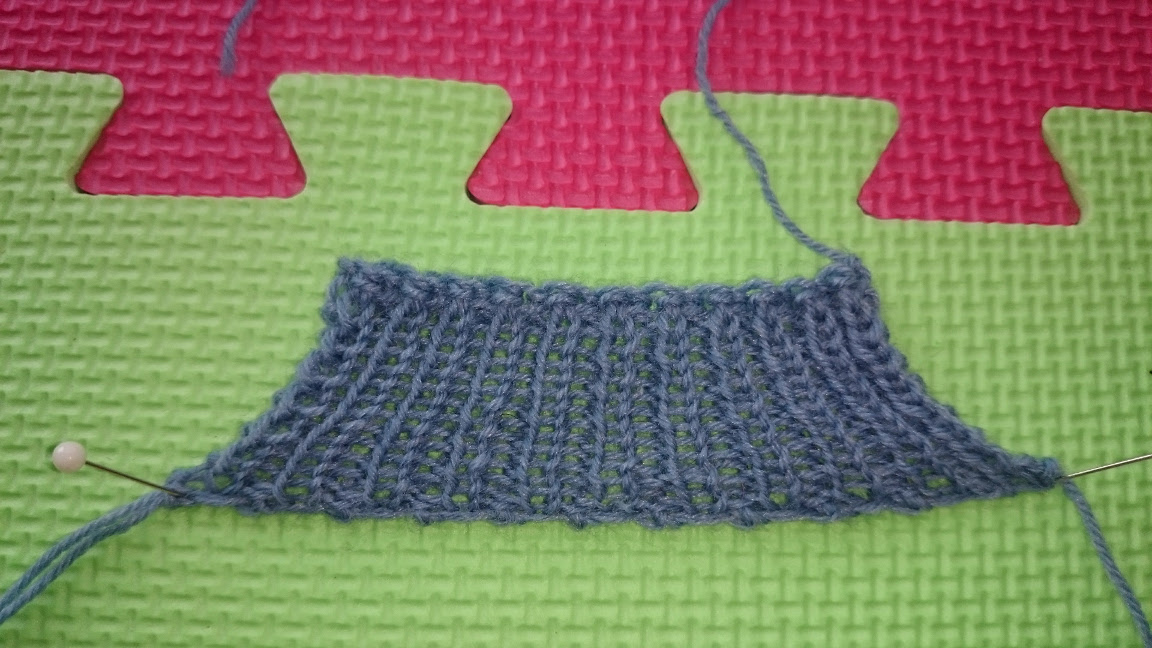
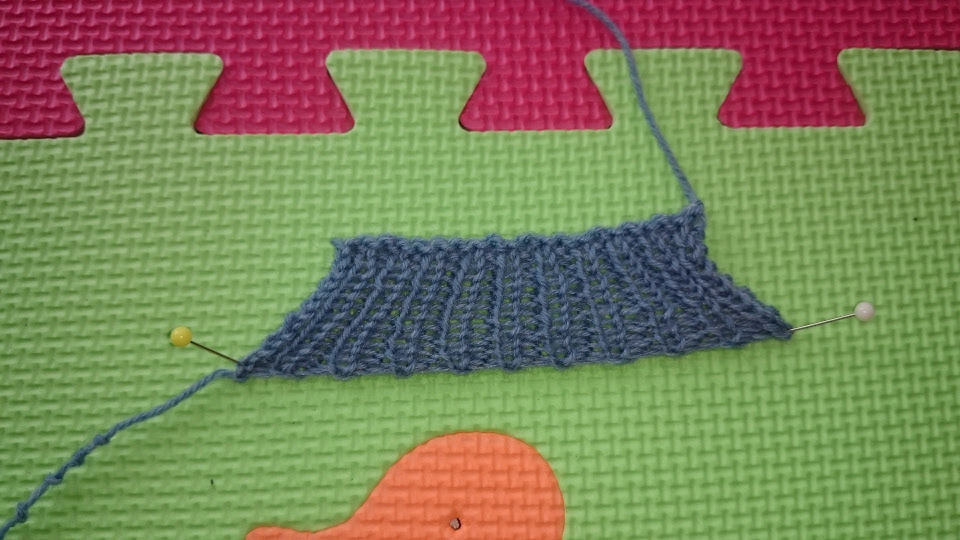
Stretched Jenny’s Stretchy Slip Knot Cast On. This was the edge with the most stretch.
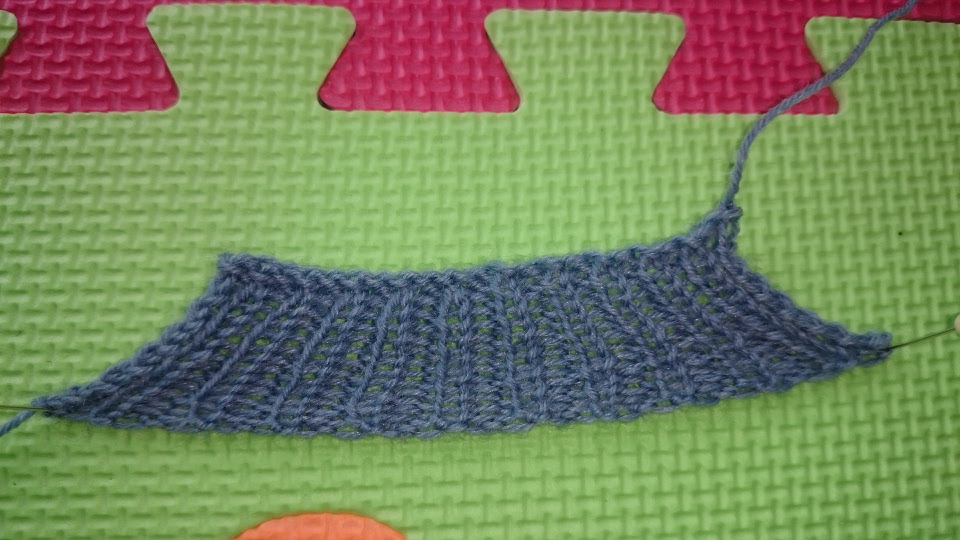
5 - Tillybuddy’s Very Stretchy Cast On
Close up of Tillibuddy’s Very Stretchy Cast On
Another very different kind of cast on. No slip knots and no estimating tail length, you only work with one strand by wrapping it around your needles and twisting those loops. Sounds complicated but it’s actually very easy, just check out this video.
It’s meant for single and double ribbing only. I tried it out on a different swatch first (there is a picture in my post on basic cast ons) with garter stitch at the bottom. But it’s true that it looks much better on ribbing.
I love how easy this cast on is to work. I could get into a good rhythm quickly. Though it’s not quite as stretchy as Jenny’s Slip Knot Cast On, it still has quite some give.
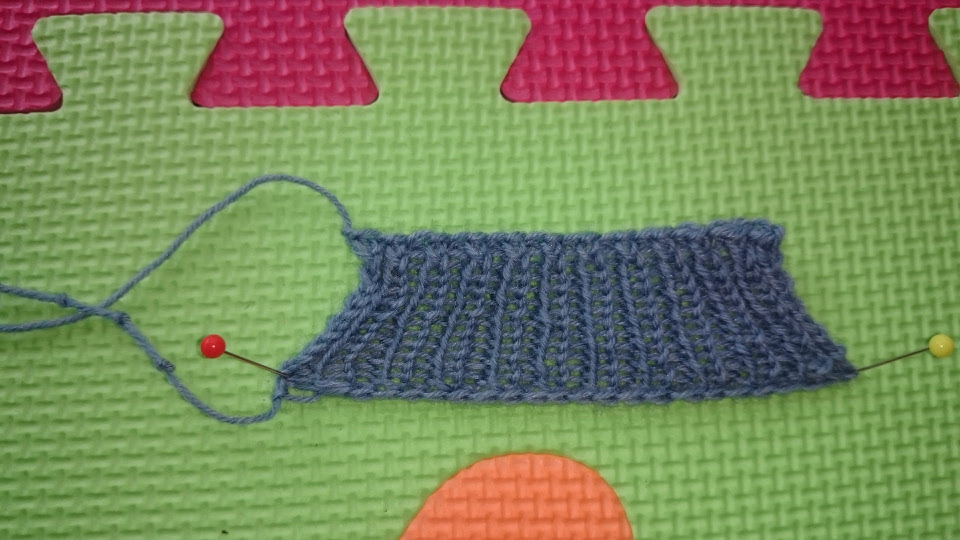
Stretched Tillibuddy’s Cast On
6 - Chinese Waitress Cast On
Close up of the Chinese Waitress Cast On
I found this method online a while ago while searching for stretchy cast ons. I had never heard of it before but it is included in a reference book I don’t own (yet): “Cast On, Bind Off: 211 Ways to Begin and End Your Knitting“.
It is definitely reversible and looks like it’s got a little crochet chain underneath. Very pretty. It took me a while to get the hang of the method though. I just couldn’t get into a good rhythm until I figured out how to do it while holding the yarn with my left hand. And I still find the first row too loose and messy looking. So, it may take more practice to get stitches to look neat.
It is moderately stretchy, I would say it is about equal to the Alternating Long Tail Cast On. It is another interesting short tail cast on for your toolbox. (Remember, all short tail cast ons can be used to add stitches for buttonholes, underarms or just at the end of a row.)
Stretched Chinese Waitress Cast On
7 - Stretchy Tubular Cast On (using Judy’s Magic Cast On)
Close up of the relaxed tubular cast on using Judy’s Magic Cast On
This is likely the easiest tubular cast on I’ve ever done. I’ve had experience with the Italian Tubular Cast On before but just found it too fiddly. Especially, since I mostly use circulars and it’s very hard to keep the cast on stitches placed right on the cable of a circular. (The resulting edge looks really nice, though.)
I’ve used Judy’s Magic Cast On on multiple occasions - as many sock knitters who (also) knit toe up probably have. That is likely the trickiest part of it but again not as difficult as it seems and a really good specialized cast on to know! Now Karen Mutchii, who posted that tutorial I’ve linked above, is actually doing Judy’s Magic Cast On “wrong”. It still works but it’s not how it’s usually described, so keep that in mind. This method of tubular cast on still works with the original way of doing Judy’s Magic Cast On, so use the method you prefer.
The edge it creates is decorative and not invisible as the Italian Cast On. It looks very nice. However, I find that it doesn’t stretch as much as the other method’s I’ve tried.
Stretched tubular cast on using Judy’s Magic Cast On
Which of these stretchy cast ons have you tried before? Which will you try in the future? Do you know of any more that I haven’t covered here? Please let me know in the comments below.
- Cast On Bind Off (*) by Leslie Ann Bestor
- Cast On, Bind Off: 211 Ways to Begin and End Your Knitting (*) by Cap Sease
On top of that Craftsy has a class on the subject of cast ons and bind offs that is worth watching: 40 Ways to Cast On & Bind Off with Aurora Sisneros (*). And besides searching on Youtube and Google you can always check out Very Pink Knits. They have a large library of knitting technique videos.
So that’s it with the stretchy cast ons for today. I may do another post about tubular cast ons if you like. There seem to be enough of them out there to make an interesting post. And since so far I’ve only tried two, I get to learn more about this, too.
Did you enjoy this post? Then please share it on Pinterest!