
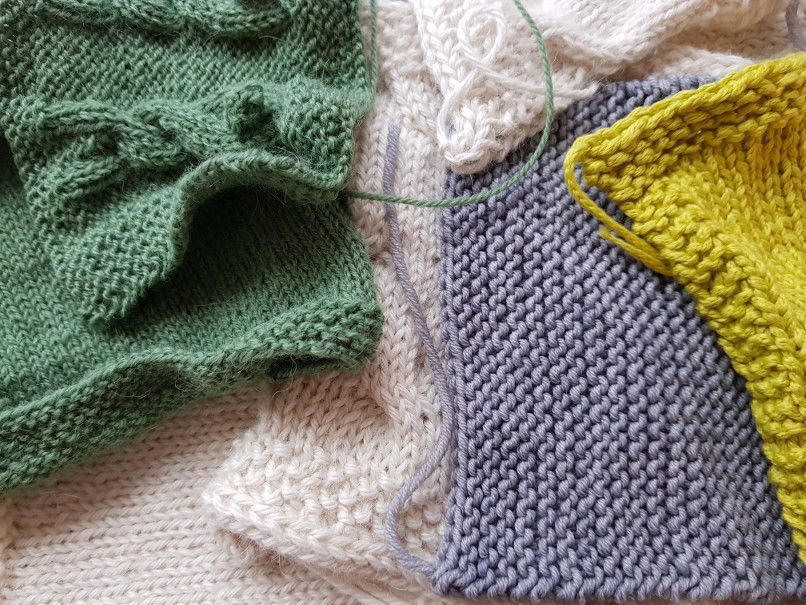
Most of us have knit them before. We know we are supposed to. But many of us don’t like it. It’s boring and tedious, and we just want to get to the main part. Gauge swatches. Besides, they tend to lie to us, don’t they?
It all depends on how you’re doing it and on what you are trying to find out, I think. I scratched the surface of this subject in my post on how to best use patterns; this short series will be more detailed. So here is a linked table of contents:
- How to Knit a Swatch
- When Designing
- How to Measure a Gauge Swatch
- Things to Keep in Mind (in part 2)
- Is Row Gauge Important? (in part 2)
- How Close do I Need to Get? (in part 2)
- Further Material (in part 2)
Now, let’s start with the basics.
How to Knit a Swatch
Make It Large Enough
It should be able to easily measure over a 10×10 cm (or 4×4 inches) piece of fabric, so make it larger than that. Then add a few stitches on either side (3 or 4 should do the trick) for a garter stitch border. Usually, you will knit a flat gauge swatch with garter stitch borders. The borders are just there to keep it lying as flat as possible, so it’s easier to measure or count. You start knitting the swatch with 4-6 rows of garter and then just keep the garter border of 3-4 stitches on either side while knitting the rest in stockinette until it is long enough. Then add another 4-6 rows of garter and bind off. By the way, it doesn’t matter whether you use the metric or the imperial system. I use the metric system because I grew up with it and find it easier to handle. Just remember 10 cm = 4 inches, 5 cm = 2 inches.
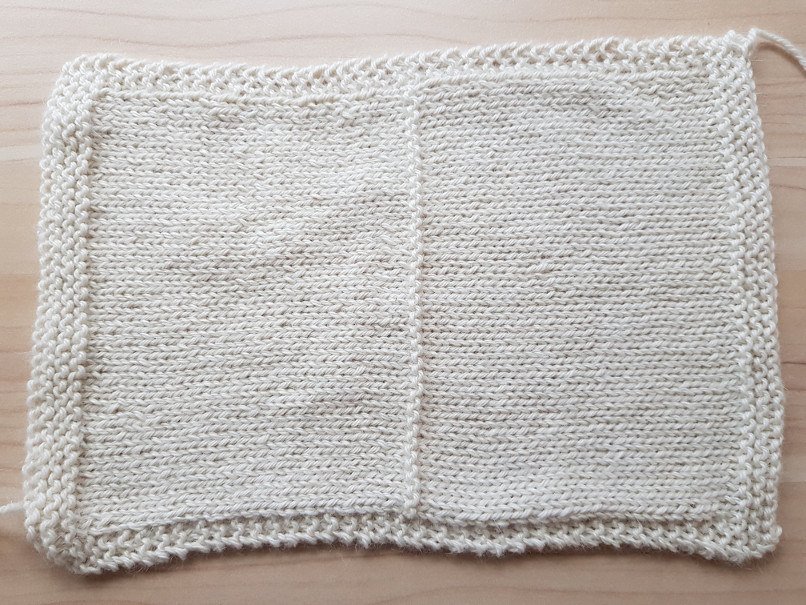
Larger stockinette swatch in two needle sizes. (in fairAlpaka’s Baby Alpaka DK). The purl ridge is there to mark where I changed the needle size. I ended up liking the fabric knit with the larger needle better.
Use Stockinette
Most of the time you will be knitting a stockinette swatch. When you are working a pattern, the gauge is usually given in stockinette as well. Every stitch pattern has a different gauge and if a sweater (for example) uses multiple stitch patterns then how would you craft a gauge swatch that would accurately tell you it’s gauge at any time? The stockinette gauge swatch is a little like synchronizing watches to make them all show the same time. If you hit the designers gauge on your stockinette swatch, then you will most likely succeed with the pattern and get a finished item that fits the way it’s supposed to.
Knit More Than One Swatch
Knit a swatch with multiple needle sizes. Use the size the designer wanted first and see if you get gauge or not. If you didn’t get gauge, you can try and estimate how much larger or smaller the needle would have to be (usually one or two sizes) to get gauge and knit another swatch. This is important, don’t rip out the first swatch. Knit an entirely new one. You may want to compare the two swatches at a later time. Even if you did get gauge (or got very close to it), it might be a good idea to reknit the swatch. Maybe you like fabric better when knit on a larger or smaller needle? Maybe you didn’t like knitting this yarn on single pointed wooden needles and want to knit with circulars instead?
Calculate Gauge Twice
Measure or count your gauge once before washing the swatch and then again after you blocked it. Gauge can change when you wash the knitted piece. It can suddenly get shorter or wider. If you measure gauge before and after blocking (and take notes of it), you can get an idea of how your project may react to washing and can act accordingly. If it shrank by 10%, you know to make it longer by 10%.
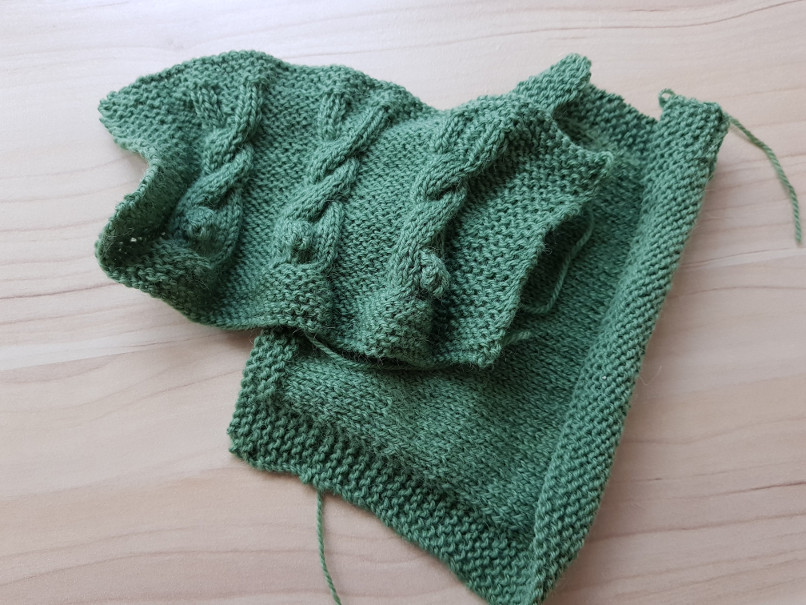
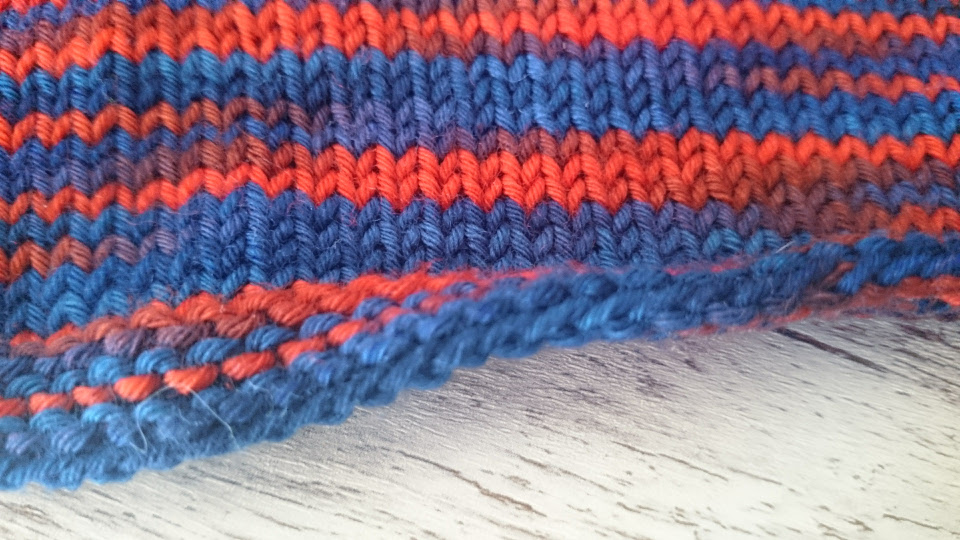
Swatch in the round front side view - this was more a proof of concept (for the cowl pattern I’m writing) and to see what needle size I liked the borders to be in
When Should You Swatch in the Round?
Sometimes it can be a good idea to knit a swatch in the round. For colorwork for example, because knitting fair isle on the wrong side can be very fiddly. Or maybe your project will be knit in the round. Or you might have a problem with your purl rows having a different gauge than your knit rows.
There are two ways to do this. Either you knit something with a (relatively) small circumferences, like a small hat, a sock leg or a sleeve. But be prepared for it to not turn into a usable item, in case it just didn’t turn out the way you wanted it to.
Or you knit a flat piece in the round. Meaning: When you reach the end of a row you simply pull the working yard over to the beginning of the row again, without turning (like I-Cord), leaving a long float at the back. These long floats can be cut when you want to measure the swatch. But keep in mind that stitches at the edge will look sloppy and huge and not have the accurate gauge. You will need to have enough room in the center of the swatch to measure correctly.
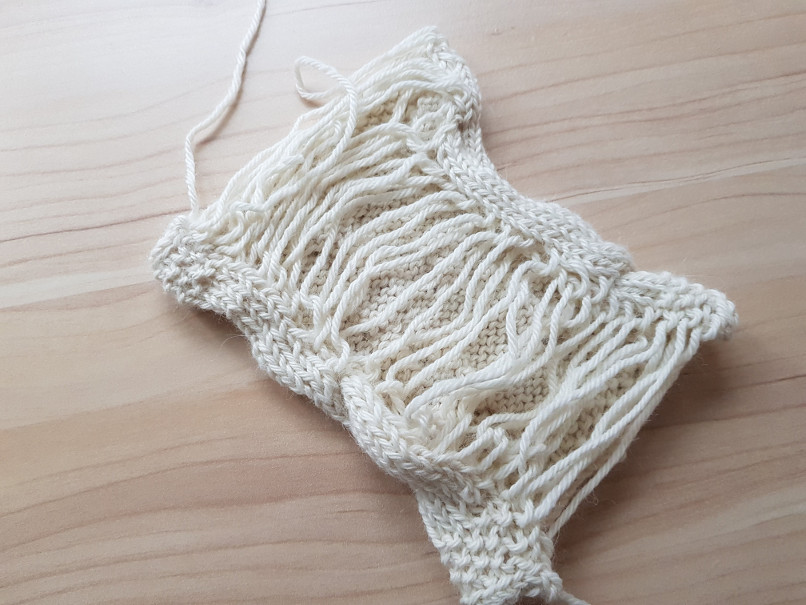
The back of the swatch knit flat in the round, you can see the floats here and how loose and messy the edge stitches are
When Designing
When you are designing something yourself, you need to knit even more swatches. Then you should knit the different stitch patterns and pattern combinations as well. And possibly test out any technique you are going to use but are unsure if they will work or not.
You will also be able to measure your the swatches to figure out how many repeats/stitches you will need for a panel or a sleeve. Like I said above, different stitch patterns have different gauges, and as a designer, you will have to know the gauge of the stitch patterns you are using or will not be able to create multiple sizes.
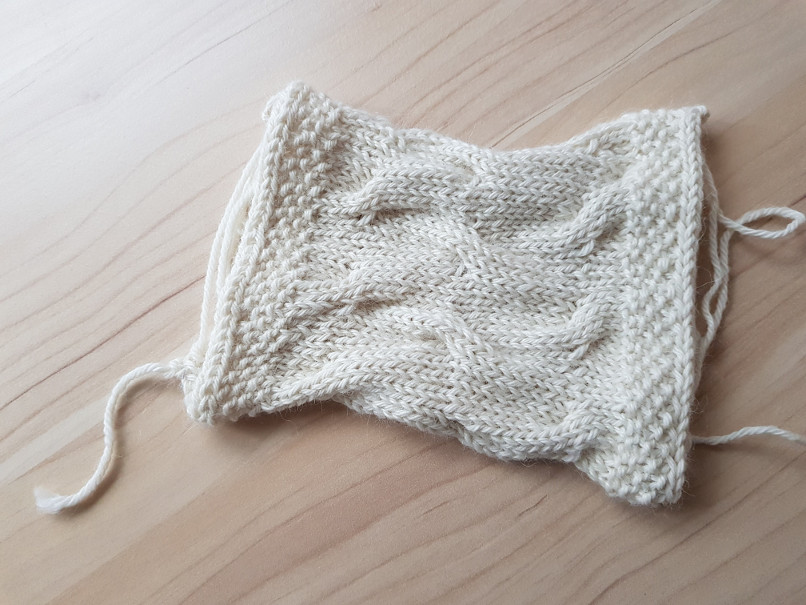
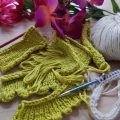
I am currently swatching for my secret project that will be revealed later this year. Here are a stockinette swatch and one in a stitch pattern I want to use (yarn is Drops Flora)
Also, those swatches can tell you other things. Does the stitch look better stretched out or relaxed? Do you like the fabric it creates and is it suitable for what you wanted to make? Does the stitch work with the yarn you chose or does the yarn hide it? Do you even like the stitch pattern knit in this yarn?
How to Measure a Gauge Swatch
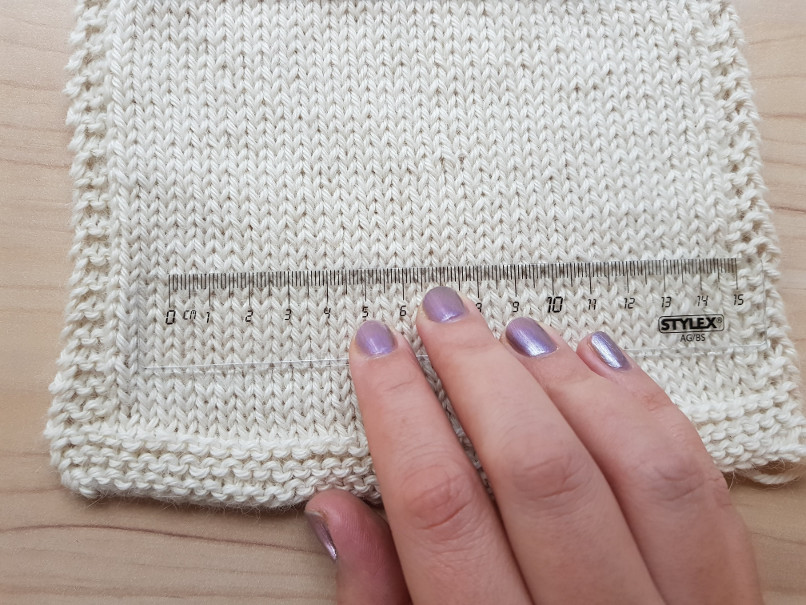
Measuring stitch gauge with my ruler over 10 cm - I just noticed that my hand slipped while I took the picture. Of course, you need to align the 0 with the beginning of a stitch and not the center of one.
Method 1
Now that we have our swatches, how do we find out what our gauge is? Most of us will like do, what I’ve done for most of my knitting life: You take the measuring device of your choice, put it on the swatch without stretching it out and then count the stitches over 10 cm and the rows over 10 cms. And that’s it.
But there is more to measuring the swatch. For one thing, don’t forget to count half and quarter stitches as well. It may not seem like they would make a huge difference, but on a large piece, they do.
Also, it is better to count the stitches and rows two to four times in different places on the swatch and then average out the numbers you get. We aren’t machines; we don’t knit with the same tension at every moment. That’s actually what I love about hand knit things - they have character and life because they aren’t perfect. (To me there is nothing more boring than perfection, which is funny since I also suffer from being a perfectionist.)

Measuring row gauge over 10 cm. I got 27.5 rows.
Measure More Than Once
But because of this nature of hand knit items, your count won’t be the same in every place of the swatch. And that’s why it’s better to use an average - even if it may be more math than we wanted to do. And the math isn’t that difficult. Just take your different counts, add them up and then divide them by the number of counts you had. Example: 17 sts + 17.75 sts + 17.25 sts = 52 / 3 = 17.33333.
Method 2
There is another way to find out your gauge and that method works a lot better with lacy stitch patterns and everything else where you can’t see the individual stitches very well. You cast on a certain number of stitches and make a note of how many. Then you knit the swatch. Then you knit the swatch. Once you are done you measure it from border to border and find out how wide it is. Again take multiple measurements so you can average those numbers later. Then you divide the number of stitches (minus the border) by the width.
Example: 47 sts over 4.75 inches => 47 / 4.75 = 9.8947.
You can also use both methods of calculating your gauge and take an average over those or at least compare them. Even if you get numbers that aren’t as easy to use without a calculator, the second method is likely the more exact one.
How do you measure your swatches? How many do you knit? Do you rip them out again when you are done? Please let me know in the comments below.
Next week in part 2, we’ll get to answering questions like “Is row gauge important?” or “Am I too far off with my gauge?” and what to do when you are. So come back next Friday for more!
Did you enjoy this post? Then please share it on Pinterest!
Hi Nadja, I stumbled upon your Blog in Pinterest - and could not stop reading through it! You are doing a great job on it. I especially loved your how-to part. Thank you!
Thank you so much! Getting such nice compliments makes working on this blog even more fun and more rewarding than it already is. I’m very happy to hear you like my work!
Great Information, You really helped me a lot, Thank You !!
Thank you for your lovely comment! I’m always happy to hear that I helped.