
As a knitter, you will likely be using knitting patterns a lot. There are those that don’t, but most beginners stick to them. They are a great way of learning how to knit a particular item or garment. But what if you still don’t get a satisfactory finished project? What if the sweater doesn’t fit or has a weird shape? What if sheer frustration keeps you from finishing the project? Then you may not be making full use of what a knitting pattern has to offer you.
Before You Start
First order of business is to check the difficulty level. You may even be able to do that before you commit to buying the pattern. On Ravelry, for example, users can rate the difficulty. Otherwise, you should be able to find a note on the difficulty level in the pattern itself. And sometimes there is even a list of knitting skills you should know. If you don’t yet know how to do everything required for the project it doesn’t matter. You can learn with the project. But make sure there aren’t too many new skills for you to master. If you don’t know what type of projects would be suited for you, check out this post on beginner projects to get an idea of what to look for.
I prefer printing patterns I’ll be working with. I may make an exception for straightforward instructions or projects I have a ton of experience with (socks). But even then I am still likely to print out the charts. It’s good to have a copy of the pattern you can mark and write on. You will find out more about this in the following sections of this post.
Read Through Carefully
Read once through the entire pattern now. Look at the size and (if included) the schematics of what you are planning to make to find out more about the fit/shape of your project. If you are knitting a garment, you should take your measurements now and write them down on the pattern. Also, read the glossary and notes thoroughly and make sure you understand all the instructions. Anything you don’t understand or don’t know how to do you can try and look up now. Google for it, ask on Ravelry or ask another knitter. You can also usually get help in your local yarn store or a knit café if you have one in your vicinity.
If there are some abbreviations or knitting terms you won’t be able to remember, you can copy them onto a sticky note and stick them to the pattern. You can then later move that note along as you are working. Or attach a memo to the pattern with a paperclip.
Last but not least: Every pattern has a list of required materials. You should read that now and make sure you have everything you need. Yarn, needles, and notions. You don’t need to use the exact yarn stated in the pattern but one that is similar enough. It should have the same weight and fiber content. If you change the fiber content, it will affect the drape and look of the finished item and may have more consequences depending on your chosen project.
Don’t forget to make sure you have the right needles and some a size or two smaller and larger. You will also need a tapestry needle, scissors and likely stitch markers and something to measure your gauge swatch with.
Gauge Swatch
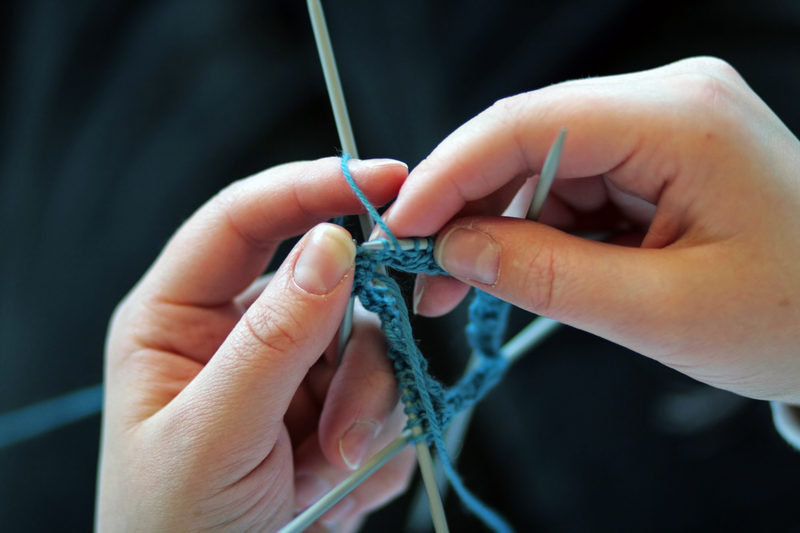
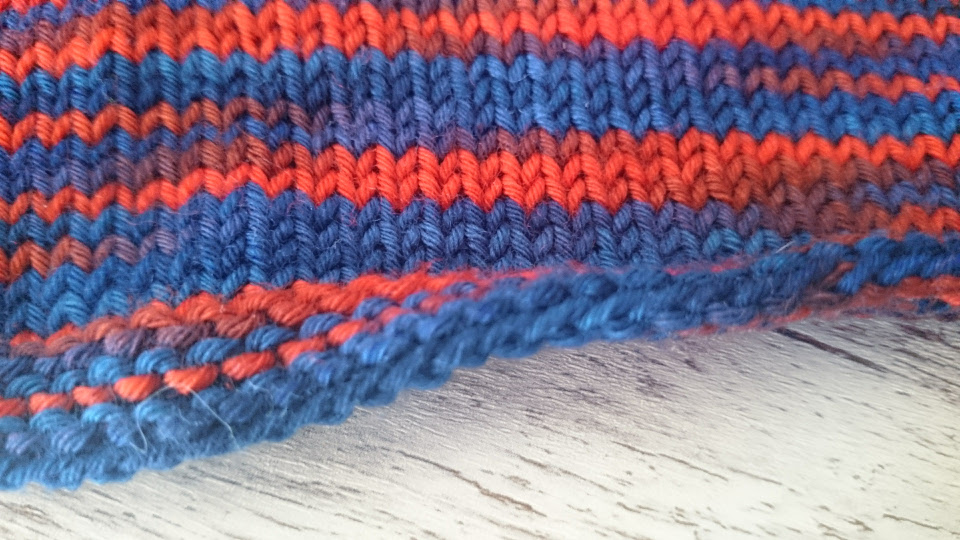
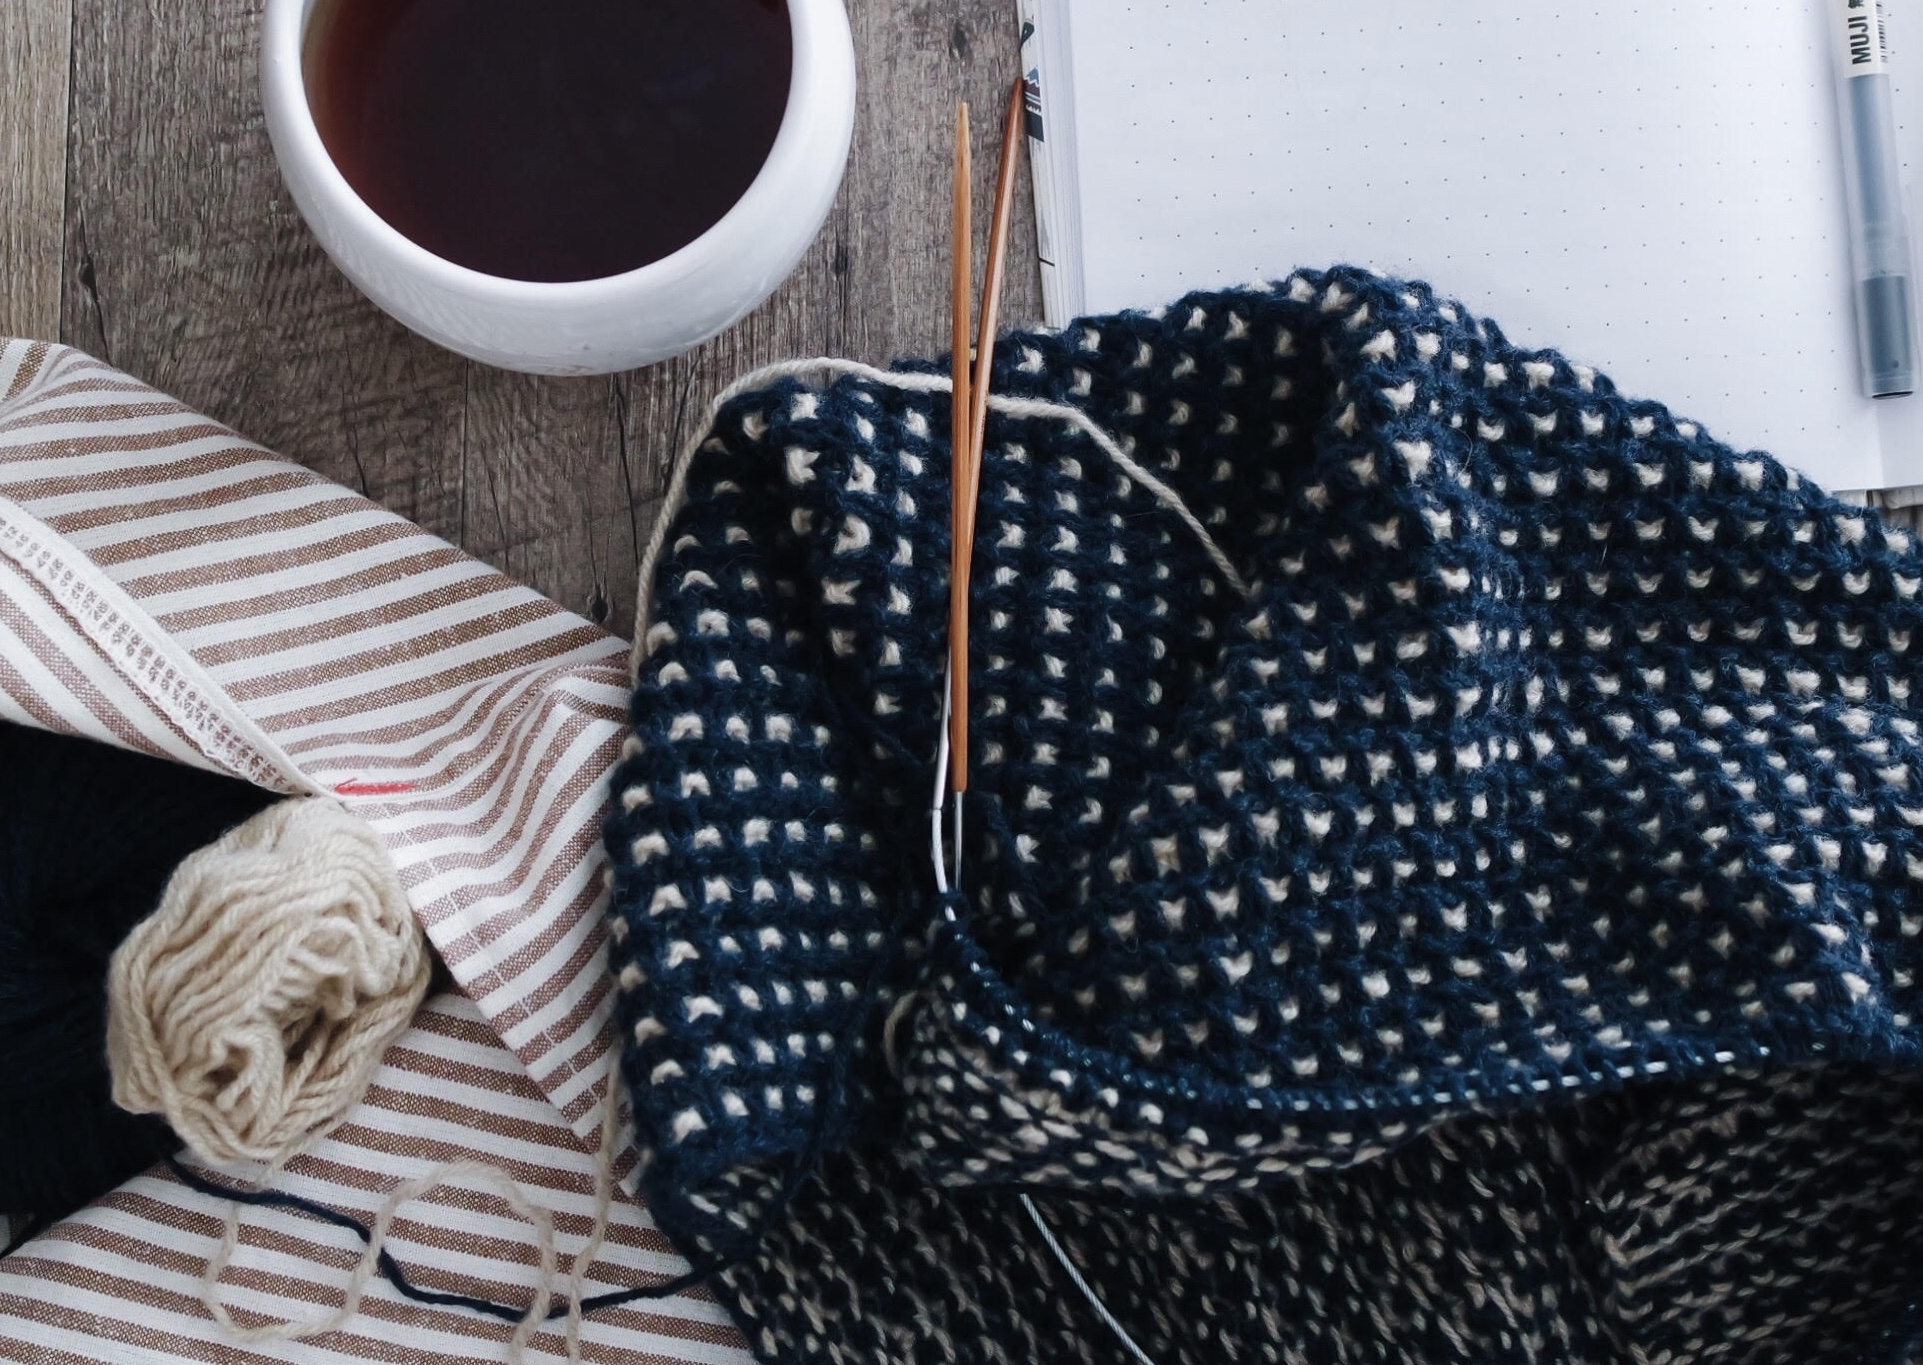
Now it’s time to get knitting. But not the project. You should always start by knitting at the very least one gauge swatch. But more would be better. Knit the first swatch with the needles of size given in the pattern and make it big enough. It should be at least 4 by 4 inches, and you should knit it with the stitch pattern indicated in the instructions. When the swatch is at least 4 inches long, you can also try out the various stitch patterns of the item, or you can start a new swatch for that. That way you will know what the stitch patterns will look like with that needle size. Mark the swatch somehow so you know which needle size you knit it with and measure it once unblocked. Count stitches and rows over at least 4 inches for more accuracy. Write the numbers down on a piece of paper you’ll clip to your pattern or on the backside of your pattern.
Now do knit the same swatch again, once each with needles one size smaller and larger. Count stitches and rows over 4 inches as before. Once more write it down.
Wash those swatches and let them dry. Block if needed (if the finished item is a lace shawl, for example, you will have to pin your swatch like you would the shawl).
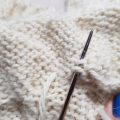
Count stitches and rows again and write those numbers down next to the ones for the unblocked state. Choose the needle size that got you closest to the gauge given in the pattern (stitch gauge is usually more important than row gauge) or got you the fabric you liked the most. If your gauge still doesn’t match the pattern’s gauge, you may have to recalculate, knit a different size or try yet again with a different needle size.
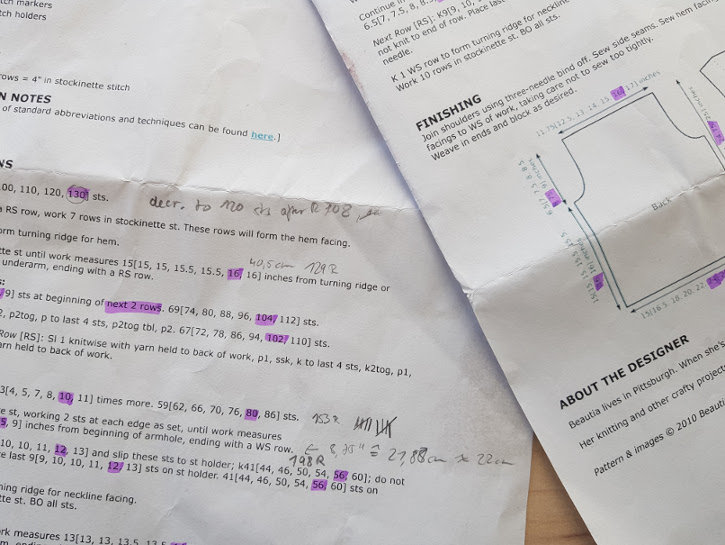
This is what my patterns often look like after I’ve finished knitting. Don’t mind my bad handwriting. 😉 Noone else is supposed to be able to read it and my notes often end up in a mix of English and German.
Prepare the Pattern
Now that you know your gauge and your measurements it’s time to figure out which size you’re going to knit. Even shawls can have multiple sizes, but there it’s mostly a matter of preference. If you are going to knit socks, hats, gloves, sweaters or anything like that you will have to choose a size.
Look at your measurements and the sizing of the pattern. Also, look at the notes and see if the pattern says anything about ease. Ease determines the fit. Negative ease will make a close-fitting garment, and you’ll choose a size a little smaller (1-2 inches depending on the item unless the pattern says differently) than your actual measurements. Socks, for example, are almost always knit with negative ease, that keeps them from slipping down your leg (stranded colorwork socks are usually knit at neutral ease, i.e., as close to your actual measurements as possible). Positive ease will make a looser fitting garment, and you will choose a size a couple of inches larger than your measurements.
Now read through the pattern again and highlight every instruction meant for your size. If sizes S (M, L, XL) are available and you are choosing size L, then every time you come to instructions including parentheses you will highlight the instruction in the middle of the parentheses. Also, highlight all other directions you will have to follow and always the words “while at the same time.” Can’t stress that point enough. You cannot make those words visible enough.
If you don’t want to highlight instructions permanently, you can do the same with highlighter tape. You can just remove it later. The only problem is that it can be a bit fiddly and takes a lot longer than with a highlighter. Otherwise, see if you can make a copy of the pattern or copy all instructions you need onto paper or digital document. It takes time but makes knitting the wrong instructions accidentally much harder.
As You Knit
Take notes while you are knitting, especially if you may have to repeat it. How many rows of ribbing for the cuffs. How many rows you knit straight to the waist decreases. Or on which rows decreases ended up. It makes it easier to retrace your steps if you come across an error later or forget how many increases you’ve done. I don’t know about you, but I can never keep those numbers straight in my head, so I always write them down.
I like to write the notes directly on the pattern next to the section they were for. Again if you don’t want to write on the pattern, you can use sticky notes for this. If you don’t have sticky notes, you can use a piece of paper that you pin to your pattern with a paperclip or even your Ravelry project page. But use headlines or something similar to separate your notes and make it easy to see what it is referencing. Otherwise, you might not know what the notes were supposed to mean if you come back to the project after a (longer) break.
For a bit further information on how to use patterns check out this information by the Craft Yarn Council or these videos:
- Knitting Basics: How to Read A Knitting Pattern (by Hobby Lobby)
- How to Read Knitting Patterns (by Expression Fiber Arts)
- How to Read Knitting Patterns with Debbie Stroller (Creativebug)
So how do you use patterns? Do you have any more tips? Or don’t you use patterns at all? Please let me know in the comments below.
I’m thinking of doing a post solely on gauge swatches in the future. Would you be interested in reading that? Are there any other subjects that interest you? If I can, I’ll fulfill such requests, and I am always happy to receive input of this kind. You can drop me a line in the comments or via the contact form. I promise I’ll answer as swiftly as I can!
Did you enjoy this post? Then please share it on Pinterest!