
Cutting the steek – it’s not as scary as you might think!
If you’re following me on Twitter you know I’ve recently cut my first steek. I had been knitting on the cardigan for a while and was both excited and afraid at the prospect of cutting the steek. It turns out: Cutting into your knitting is a lot less scary and much more fun than I thought. And steeking really isn’t all that difficult. The toughest part is knitting the item.
There is fear involved if you’re cutting into your knitting! You spend countless hours knitting the item, of course, you don’t want to accidentally ruin it! And I don’t know about you, but I have ruined knitted items with much safer things – like washing. So naturally, I did some research beforehand. I like to be prepared, to know what to expect. It makes me feel better about whatever new thing I’m trying. It takes away the fear of the unknown.
Why you steek
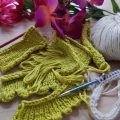
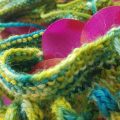
Securing the steek with single crochet
Knitting in the round tends to be quicker and easier. Especially when you’re knitting stranded colorwork. You don’t have to work back along the wrong side with all the floats. They make it more difficult to read your knitting and twisting the strands for longer floats is a bit more tricky when purling. The biggest problem is the tension, however. You already need to keep even tension on two strands of yarn which takes a bit of practice. Working your knit and purl stitches at the same tension is also not easy. Doing both at the same time? It’s great if you can avoid it and steeks make it possible.
You just knit a tube and then basically cut holes for the arms and neck. With steeks, you can also transform a sweater into a cardigan after the fact if you want to. At a workshop about stranded knitting and steeking a couple of years ago (we ran out of time before we could really get to the steek, unfortunately), the instructor told us you could basically use any type of yarn to work a steeked item. It would all depend on how you secured the steek before cutting. And I have found at least one example on the internet of someone working a steek into a cotton top. The general advice is to use 100% wool that would felt, however. The yarn simply has more grip and sticks to itself which means the cut strands stay in place better and don’t slip out so easily.
How to steek
As I’ve said before you knit a tube. In the places where you will be cutting you usually knit a special steek pattern for five, seven or nine stitches. These stitches won’t be visible from the front once the item is finished.
If you secure your steek, you will do it on these stitches, and you will cut through the center of the steek. You will also often have an edge stitch along the steek along which you will pick up stitches for a button band, a sleeve or something like that.
How to secure a steek
There are three different ways to secure a steek.
- Hand sewn steek
- Machine sewn steek
- Crochet edge steek
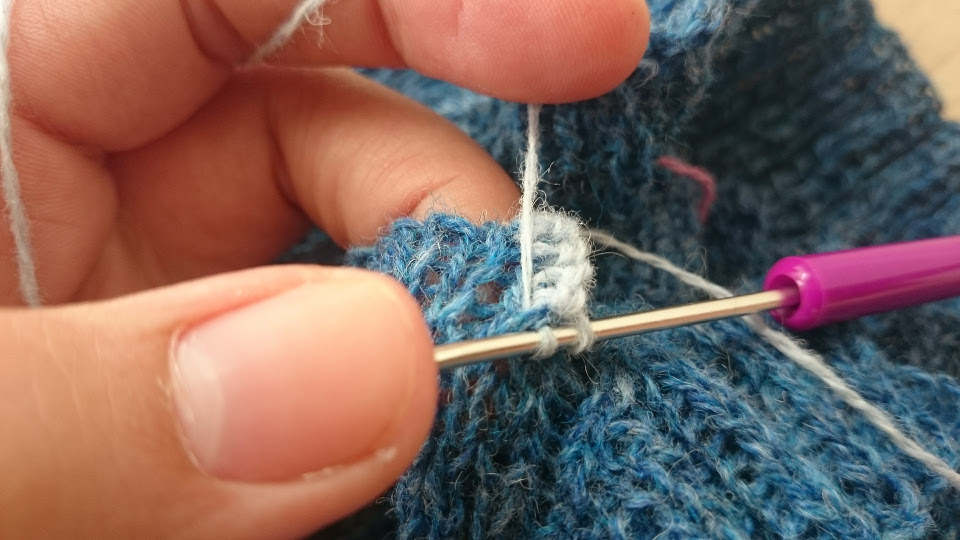
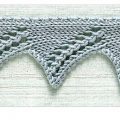
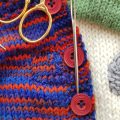
Securing the steek with single crochet (close-up)
If you like sewing by hand, you can try a hand sewn steek. You take a tapestry needle and a bit yarn (again 100% wool would work best) and sew up the line of stitches next to where you are going to cut in backstitch. You do that once or twice on each side of where you are going to cut. Phil over at A Twisted Yarn has a really good in-depth explanation on how to do that. And here is a good video on this method as well. They are doing it slightly differently, so best check out both.
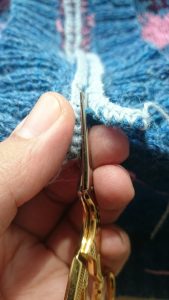
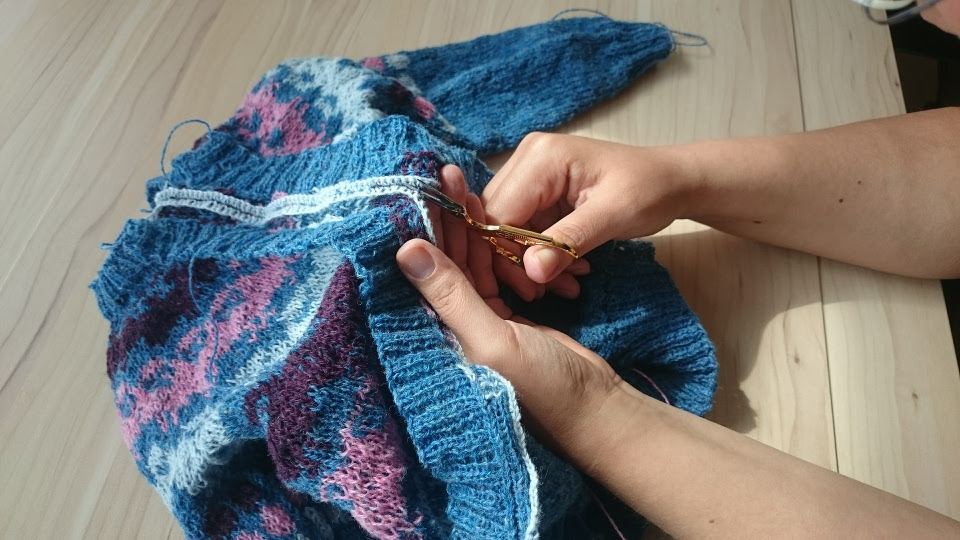
Where to cut a crochet steek
A machine sewn steek is done similarly but with a sewing machine. This is also the method of choice when you are using cotton yarn. It offers the most security even for slippery yarn. The advice on which stitch to use varies. I would advise on a stitch meant for stretchy material like the zig-zag stitch or any stretchy straight stitch.
If you don’t like sewing as much and know how to do a slip stitch or a single crochet, you can do a crochet edge steek. I chose it simply because I am quicker at crocheting and prefer it over sewing. Here you usually have an uneven number of stitches in your steek because you are going to cut through the middle of the centermost stitch. The crochet chains will be placed to the left and right of the line where you are going to cut and will be worked through right leg of the stitch left of the center stitch and left leg of the center stitch and through the right leg of the center stitch and the left leg of the stitch to the right of it respectively.
Here is a good video on this method and tincanknits and Kate Davies Design both have good posts on how to do this.

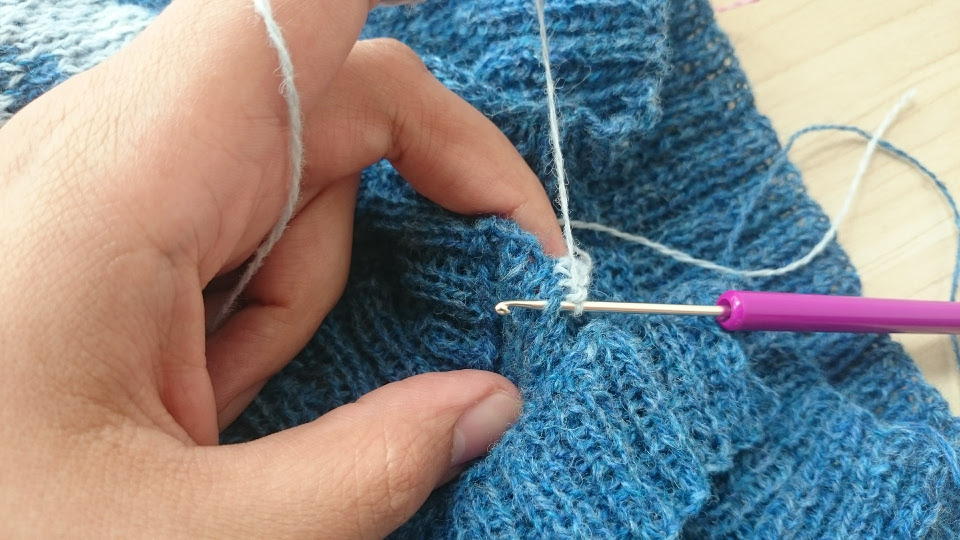
After cutting – crochet steek
Finishing
If you need to pick up stitches for button bands or the like you usually do it now. Where the Wild Sheep Roam made me do it before cutting the steek, but that seems to be an exception. I don’t really know if there are any reasons for picking up those stitches before or after cutting the steek. That is something I couldn’t find any information on. Usually, you either pick up stitches between the last steek stitch and the first “regular” stitch or into the first regular stitch. Where the Wild Sheep Roam had a special stitch that didn’t belong to the pattern repeat right next to steek that was meant for picking up stitches.
Now all you need to do is fold the steek to the inside and sew it down. Again there are different methods of sewing it down. You could do a blanket stitch or a whip stitch. I’ve even heard of mattress stitch being used but can’t for the life of me find a link to it anywhere. Et voilá, you have a nice clean edge.
Personal Experiences
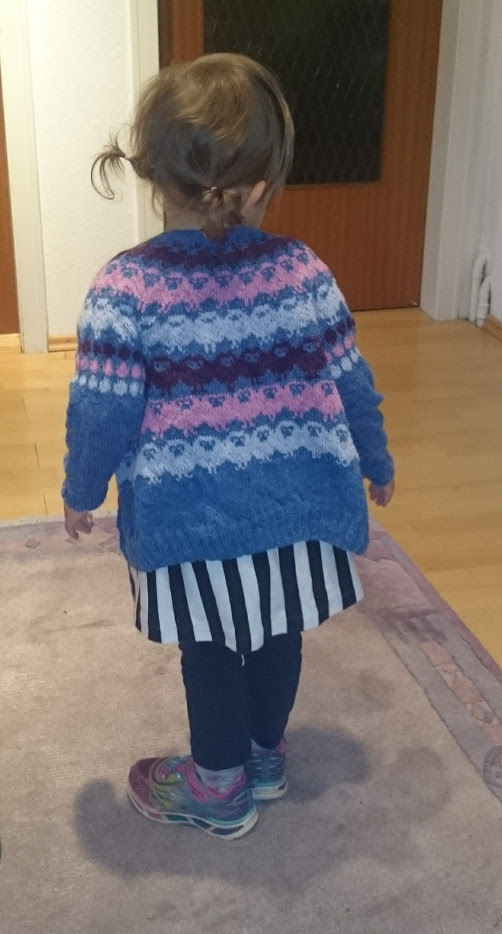
Tiny Wolf modeling Wolf in Sheep’s Clothing (aka Where the Wild Sheep Roam)
I was a bit scared at first to actually cut into the knitting but also excited to try something new. And I have to say; I really enjoyed this, really loved this method of making a cardigan. I often feel that knitting – as it is with many other crafts I would assume – is as close to magic as you can get. And this really did feel like magic. Cutting into your knitting without it unraveling – even when a 2-year-old puts on the cardigan all on her own and runs around with it all day doing everything that toddlers do. And it’s still intact. It’s almost unbelievable and really cool. Or at least what qualifies as cool for geeky-old-me.
On top of that both me and Tiny Wolf love the hell out of that cardigan. She wears it a lot (her choice), and it doesn’t even have buttons yet.
Have you done a steek before? How did you like it? Do you know anything else that would be helpful to beginners? Please let me know in the comments below.
Also, there are two books on my to buy list, which cover this subject as well. The Knowledgeable Knitter (*) by Margaret Radcliffe has a section on it that looks to be quite in depth, though it doesn’t have a lot of pictures. And my absolute must buy book AlterKnit Stitch Dictionary: 200 Modern Knitting Motifs (*) by Andrea Rangel. The section on steeking is quite short, but the book has a lot of information on fair isle knitting in general and so many beautiful stitch motifs to inspire you.
Affiliate disclaimer: This post contains affiliate links (links marked by (*)). That means that at no extra cost to you I will receive a small compensation should you choose to purchase after clicking on such a link. Please, read this for more details.
So this is for today. Next up will likely be a review of the latest Interweave Knits because I really liked a lot of the patterns in that magazine. Please check back soon for more!
Did you enjoy this post? Then please share it on Pinterest!